This article is part of a series entitled “Ubuntu Beginners” which walks new users through basic Desktop and Command Line usage. This article will detail how to change and customize your Ubuntu look by managing your themes. This article includes step-by-step instructions as well as screenshots, and is specific only to GNOME.
Changing The Theme
Ubuntu comes pre-installed with a number of Desktop themes. The default is called “Human”, and is what defines the characteristic Ubuntu earth-tone colors. Some users love the default theme and others don’t like it at all. The primary complaint that I’ve heard is that it is “too brown”. If you’d like to change your theme, follow the steps below.
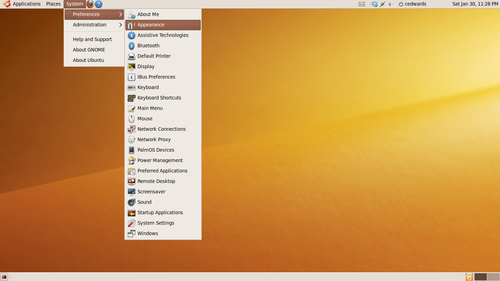
To change your theme, you need to navigate to System > Preferences > Appearance, as outlined in the screenshot below:
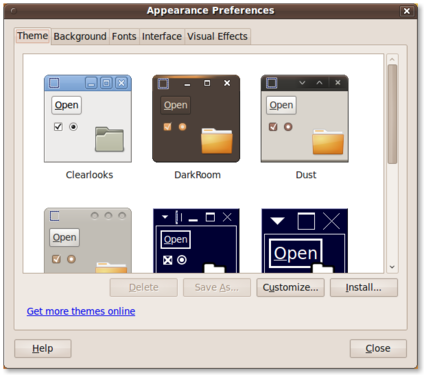
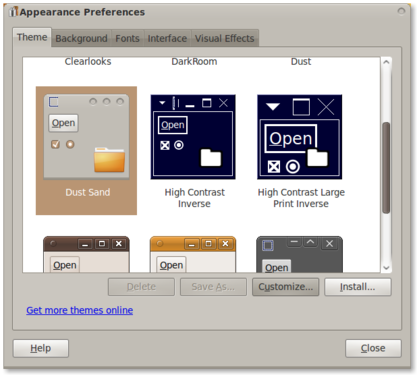
This will launch the GNOME Appearance utility, which will default to a list of installed themes. You can easily change your theme in real-time by simply selecting a new theme from the list. The default installed themes are:
- Clearlooks
- Dark Room
- Dust
- Dust Sand
- High Contrast Inverse
- High Contrast Large Print Inverse
- Human
- Human-Clearlooks
- New Wave
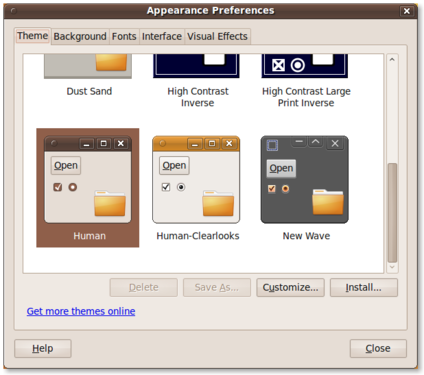
On a default installation of Ubuntu 9.10, you should have nine default themes installed to choose from. The screenshot below displays more from the list above.
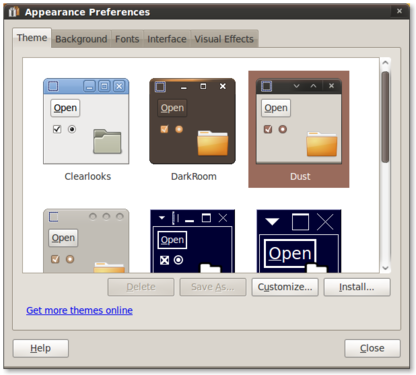
You can instantly change your theme by selecting one of the listed themes within the window. The next two screenshots show the Dust and Dust Sand themes after being selected.
In a future article I will outline additional theme customizations, including Backgrounds, Fonts, Interface, and Visual Effects. Until then, why not try a few different themes and see how well you like them. Remember, if you want to put the theme back where it started, simply select “Human” from the list.
