Install Skype for Linux Beta v2.1.0.81 on Ubuntu 9.10
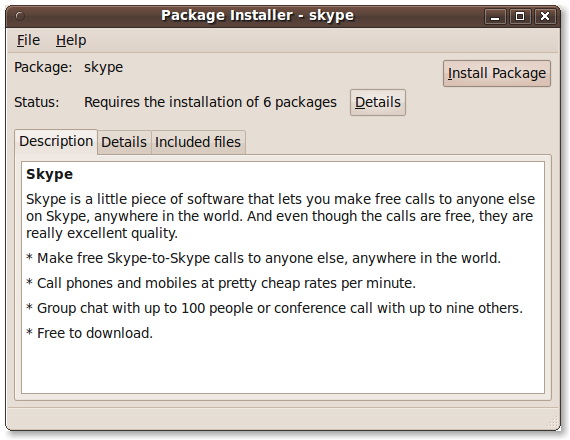
Skype just recently released an updated version of their desktop client for Linux, Skype Beta v2.1.0.81. This release fixes some major bugs and well as introduces some new features previously unavailable on the Linux release. I am very happy to see this version released as I use Skype quite regularly. Not only to talk to… Read More »